n8n Playwright Screenshot Automation for Visual Workflows

We've all stared at our screens, downing our third cup of coffee, manually taking the 50th screenshot for a technical blog post. You write a brilliant piece of content, but then the momentum completely dies because you have to open a browser, frame the window perfectly, snap the picture, crop it, save it, and manually link it in your markdown file. It is the ultimate flow-breaker, right?
Shall we solve this beautifully together? ✨
Today, we are bringing visual superpowers to our pipeline. Building on the persona and template system we crafted in Episode 6, we are going to implement n8n playwright screenshot automation. We will spin up a headless browser, navigate to our target URLs, snap pixel-perfect screenshots, save them to disk, and dynamically reference them in our generated content.
Let's dive into making our pipelines not just smart, but highly visual.
The Mental Model: Passing the Baton
Before we write a single line of code, let's visualize how this data flows. Think of this process like a well-coordinated relay race.
Your n8n workflow holds the baton—in this case, a target URL and a desired file name. n8n hands this baton to the Execute Command node, which acts as our bridge to the operating system. This node shouts a command to the terminal to run a Node.js script.
Our script, powered by Playwright, takes off sprinting. It spins up an invisible (headless) browser, navigates to the URL, waits for the page to completely settle down, snaps a pristine photograph of the DOM, and saves it to your local disk. Finally, it hands a sticky note (the file path) back to n8n, saying, "Mission accomplished." n8n then injects that file path directly into the markdown templates we built last time.
Deep Dive: Crafting the Playwright Script
Why are we using Playwright instead of older tools like Puppeteer? Developer Experience (DX). Playwright has incredible auto-waiting capabilities. Instead of writing hacky setTimeout(5000) blocks hoping the page loads in time, Playwright natively understands when the network is idle and animations have finished.
Let's write a clean, pragmatic Node.js script. Create a file named capture.js in a directory your n8n instance can access.
// capture.js
const { chromium } = require('playwright');

// Grab arguments passed from n8n's shell command
const targetUrl = process.argv[2];
const outputPath = process.argv[3];

if (!targetUrl || !outputPath) {
  console.error('Please provide both a URL and an output path.');
  process.exit(1);
}

(async () => {
  // Launch the browser in headless mode
  const browser = await chromium.launch({ headless: true });
  const context = await browser.newContext({
    viewport: { width: 1280, height: 800 },
    deviceScaleFactor: 2, // Retina quality screenshots!
  });

  const page = await context.newPage();

  try {
    // Navigate and wait for the network to quiet down
    await page.goto(targetUrl, { waitUntil: 'networkidle' });

    // Snap the picture and save it to the provided path
    await page.screenshot({ path: outputPath, fullPage: false });

    // Return the path so n8n can read it from stdout
    console.log(outputPath);
  } catch (error) {
    console.error(Failed to capture screenshot: ${error.message});
    process.exit(1);
  } finally {
    await browser.close();
  }
})();
Why this code is better
Notice thedeviceScaleFactor: 2? This is a massive DX win. When developers read your documentation or blog posts, blurry screenshots are an immediate turn-off. By simulating a retina display, your automated screenshots look crisp and professional without any manual image upscaling.
We also use waitUntil: 'networkidle'. This tells Playwright to wait until there are no more than 2 network connections for at least 500 ms. This ensures web fonts, hero images, and lazy-loaded components are fully rendered before the shutter clicks.
Executing Shell Commands from n8n
Now that our script is ready, we need n8n to trigger it. n8n provides a fantastic built-in node called Execute Command.
In your n8n canvas, add the Execute Command node. We are going to construct a bash command that passes our dynamic data (the URL from our content pipeline) into the Node.js script.
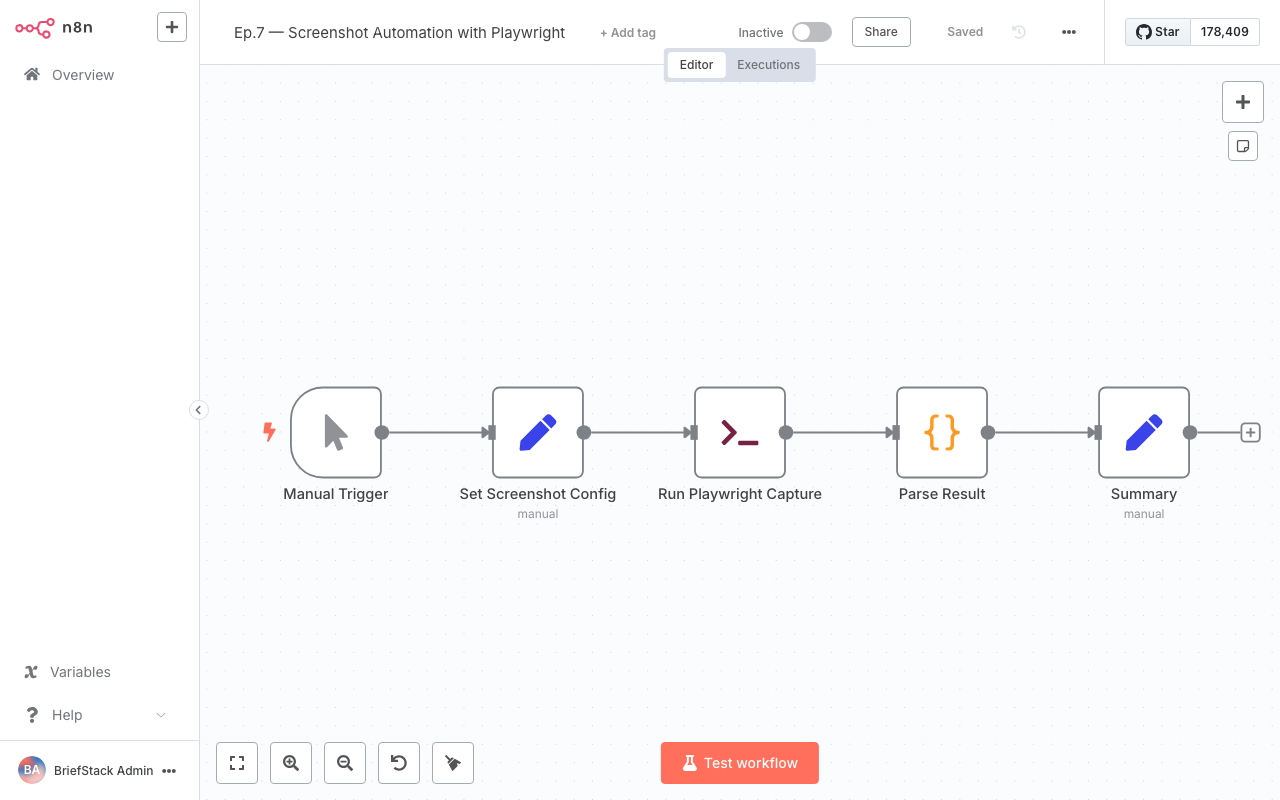
Here's how our Execute Command node looks inside the n8n canvas. Notice how we're dynamically passing the URL and output path from our previous nodes directly into the shell command.
In the "Command" field of the node, you'll write an expression like this:
node /path/to/your/scripts/capture.js "{{ $json.targetUrl }}" "/app/assets/images/{{ $json.slug }}.png"Handling the Output
When the Execute Command node runs successfully, it captures whatever the script logged to the console (stdout). Because we wrote console.log(outputPath) at the end of our Playwright script, the output of this n8n node will literally be the string /app/assets/images/my-post-slug.png.
This is exactly what we need to inject into our markdown!
Referencing Images in Generated Content
As we set up in Episode 6, we use templates to construct our final markdown. Now that we have the local file path of our shiny new screenshot, we can pass it into our markdown compiler node.
Imagine your template looks like this:
## Visual Overview

Here is a snapshot of the interface we are working with today:

<img src="{{ $json.screenshotPath }}" alt="Interface Snapshot" loading="lazy" class="blog-screenshot" />
Because n8n holds the state of the workflow, you simply map the stdout from the Execute Command node to the screenshotPath variable in your template.
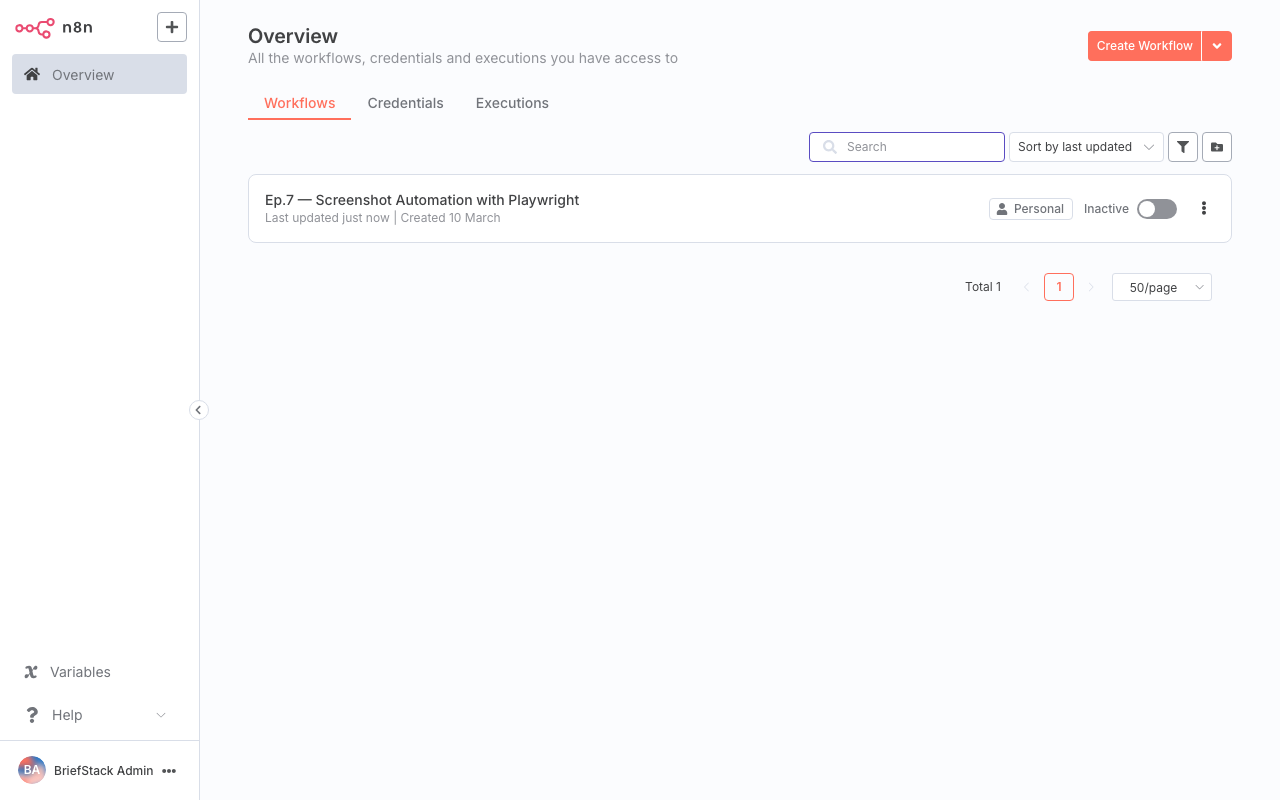
Back in the main dashboard, you can see our workflow executions lighting up green. Each successful run means another perfect screenshot saved directly to our local disk.
Performance vs DX: The Ultimate Balance
Let's evaluate what we just built from both sides of the coin.
From a Performance Perspective:
Running headless browsers can be memory-intensive. However, because we are invoking a lightweight Node.js script via the Execute Command node, the browser process spins up, does its job, and completely shuts down (browser.close()). There are no zombie processes eating up your server's RAM. It is highly ephemeral and clean.
From a Developer Experience (DX) Perspective:
This is where the magic truly happens. Think about how much earlier you get to go home now! 🚀
You no longer have to break your writing context to manage images. You write your content, define the URLs you want to showcase, and the pipeline handles the visual heavy lifting. Your markdown files are automatically populated with correctly formatted image tags pointing to perfectly sized, retina-quality screenshots. It feels like having a dedicated design assistant working alongside you.
Wrapping Up
By integrating n8n playwright screenshot automation, we've removed one of the most tedious friction points in content creation. Your components and pipelines are way leaner now, and your visual assets are perfectly synchronized with your text.
But right now, all these beautiful markdown files and crisp screenshots are just sitting on our local disk. In Episode 8, we are going to take this entire package and push it to the world. We'll explore publishing directly to Git and triggering automated site deploys.
Your automated content is about to go live. Happy Coding! ✨
Frequently Asked Questions
Why use Playwright instead of a third-party screenshot API?
While APIs are easy to set up, they often charge per image and lack granular control. Running your own Playwright script gives you absolute control over viewport sizes, device scale factors, and network waiting states, all without recurring subscription costs.How do I handle cookie banners ruining my screenshots?
Playwright is fully interactive! Before callingpage.screenshot(), you can add a line of code to locate and click the "Accept All" button, or run a small script to hide specific DOM elements (like fixed headers or cookie banners) using page.evaluate().
Does this work if I am running n8n in Docker?
Yes, but you need to ensure the Playwright browser binaries are installed in your container. You can create a customDockerfile based on the official n8n image, and add RUN npm install -g playwright && npx playwright install --with-deps chromium to ensure the headless browser has everything it needs to run.
Can I capture specific elements instead of the whole page?
Absolutely. Instead ofpage.screenshot(), you can use page.locator('.my-specific-component').screenshot({ path: outputPath }). This is incredibly useful for documenting specific UI components without capturing the entire surrounding webpage.